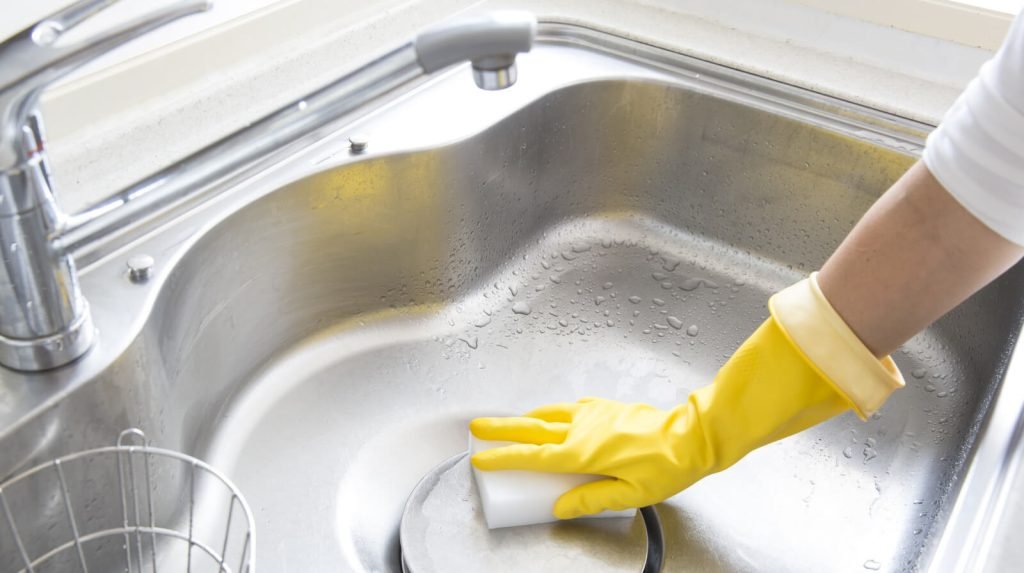
The kitchen sink is one of the most important areas in a home that needs to be kept clean to maintain hygiene and prevent the growth of bacteria. Regular cleaning of the sink helps to remove food particles, grease, and other dirt that may accumulate over time. Proper cleaning not only ensures a clean and hygienic kitchen but also prolongs the life of the sink.
Before cleaning the sink, it is important to remove any dishes or other items that may be in the sink. Start by rinsing the sink with hot water to remove any loose debris. Next, use a non-abrasive cleaner and a soft cloth or sponge to scrub the sink, paying special attention to any stains or hard-to-reach areas. For stubborn stains or built-up grime, a mixture of baking soda and water can be used as a natural cleaner. Finally, rinse the sink thoroughly with hot water and dry it with a clean towel or paper towel. By following these simple steps, you can keep your kitchen sink clean and hygienic.
Materials You Need For Sink Cleaning

To clean a kitchen sink, you will need a few basic materials. Here are the most common items required:
- Non-abrasive cleaner: You can use any mild liquid dish soap, a commercial kitchen sink cleaner, or a mixture of vinegar and water to clean your sink. Avoid using harsh abrasive cleaners or bleach as they can damage the sink’s surface.
- Soft cloth or sponge: Use a non-abrasive cloth or sponge to scrub the sink surface. Avoid using steel wool or scrubbing pads as they can scratch the sink’s finish.
- Baking soda: Baking soda is a natural and effective cleaner that can be used to remove stubborn stains and odors from the sink.
- Old toothbrush: An old toothbrush can be used to scrub hard-to-reach areas such as the sink drain or faucet.
- Rubber gloves: Rubber gloves can protect your hands from harsh chemicals and hot water.
- Hot water: Hot water is effective in loosening dirt and grime, making it easier to clean the sink.
With these basic materials, you can effectively clean your kitchen sink and keep it looking shiny and new.
Instructions To Clean Your Sink
1. Clear the sink

Clearing the sink means removing any dishes or items from the sink and clearing out any debris that may be present. Here are the detailed steps on how to clear the sink:
- Remove any dishes or items from the sink: Before cleaning your sink, it’s important to remove any dishes, utensils, or other items that may be in the sink. If there are any food scraps or debris in the sink, remove them with a paper towel or scraper.
- Dispose of waste: If there is any food waste in the sink, dispose of it in a compost bin or the garbage.
- Rinse the sink: Rinse the sink thoroughly with hot water to remove any loose debris or remaining food particles. Use a sprayer or a cup to direct the water to all areas of the sink.
- Remove the sink strainer: If you have a sink strainer, remove it from the sink and clean it separately. You can wash it with hot soapy water and scrub it with a brush to remove any buildup.
By clearing the sink, you can start the cleaning process on a clean and empty surface, making it easier to scrub and rinse the sink effectively.
2. Apply cleaner:

Applying a cleaner to the sink is an important step in cleaning it thoroughly. Here are the detailed steps on how to apply cleaner to your sink:
- Choose a non-abrasive cleaner: Choose a mild cleaner that is safe for your sink’s material. You can use a commercial kitchen sink cleaner, a liquid dish soap, or a natural cleaner like vinegar and water. Avoid using harsh cleaners or abrasive products that can scratch or damage the sink.
- Apply the cleaner: Apply a small amount of cleaner onto the sink surface. You can use a sponge or cloth to apply it evenly. Make sure to cover all areas of the sink, including the corners, edges, and drain. For tougher stains or buildup, you can sprinkle baking soda on the sink surface before applying the cleaner.
- Let it sit: Allow the cleaner to sit on the sink surface for a few minutes. This gives it time to break down any dirt or grime that may be present.
- Scrub the sink: Use a soft cloth or sponge to scrub the sink surface. Use circular motions and apply gentle pressure to avoid damaging the sink. Focus on areas that may be more dirty or stained, such as around the drain or faucet.
- Rinse the sink: Rinse the sink thoroughly with hot water. Use a sprayer or a cup to direct the water to all areas of the sink, making sure to remove all the cleaner and any remaining residue.
By applying a cleaner to your sink, you can effectively remove dirt, stains, and grime and restore its shine and cleanliness. Remember to choose a cleaner that is safe for your sink’s material and to avoid abrasive products that can damage the surface.
3. Scrub the sink

Scrubbing the sink is an important step in removing dirt and grime and restoring its cleanliness. Here are the detailed steps on how to scrub your sink effectively:
- Use a soft cloth or sponge: Use a soft cloth or sponge to scrub the sink surface. Avoid using abrasive materials like steel wool or scouring pads that can scratch or damage the sink.
- Apply gentle pressure: Apply gentle pressure while scrubbing to avoid damaging the sink surface. Focus on areas that may be more dirty or stained, such as around the drain or faucet.
- Use circular motions: Use circular motions while scrubbing the sink. This helps to loosen dirt and grime and distribute the cleaner evenly.
- Use an old toothbrush: Use an old toothbrush to scrub around the sink edges, faucet, and drain. This helps to remove any buildup or grime that may be present in these hard-to-reach areas.
- Scrub for a few minutes: Scrub the sink surface for a few minutes until all the dirt and stains are removed. You can repeat the process if necessary.
- Rinse the sink: Rinse the sink thoroughly with hot water. Use a sprayer or a cup to direct the water to all areas of the sink, making sure to remove all the cleaner and any remaining residue.
By following these steps, you can effectively scrub your sink and remove any dirt, stains, or grime that may be present. Remember to apply gentle pressure and use circular motions while scrubbing to avoid damaging the sink surface.
4. Rinse the sink

Rinsing the sink is an important step in cleaning it thoroughly and removing any remaining cleaner or residue. Here are the detailed steps on how to rinse your sink effectively:
- Use hot water: Use hot water to rinse the sink thoroughly. Hot water helps to remove any remaining cleaner or residue and also sanitizes the sink surface.
- Direct the water to all areas of the sink: Use a sprayer or a cup to direct the water to all areas of the sink, including the corners, edges, and drain. Make sure to remove all the cleaner and any remaining residue.
- Repeat if necessary: If there is still some residue or cleaner left on the sink surface, repeat the rinsing process until the sink is clean.
- Dry the sink: Use a clean, dry cloth or towel to dry the sink surface. This helps to prevent water spots or streaks from forming on the sink surface.
By rinsing the sink thoroughly, you can ensure that all the cleaner and any remaining residue are removed, leaving the sink surface clean and shiny. Remember to use hot water and direct the water to all areas of the sink while rinsing.
5. Dry the sink

Drying the sink is an important final step in cleaning it thoroughly and preventing water spots or streaks from forming on the surface. Here are the detailed steps on how to dry your sink effectively:
- Use a clean, dry cloth or towel: Use a clean, dry cloth or towel to dry the sink surface. Avoid using a cloth or towel that has been used for other purposes, as it may contain dirt or bacteria that can transfer to the sink surface.
- Wipe the sink surface: Wipe the sink surface with the cloth or towel, making sure to dry all areas of the sink, including the corners, edges, and drain.
- Use a microfiber cloth: For a streak-free shine, use a microfiber cloth to dry the sink surface. Microfiber cloths are designed to absorb moisture and leave a clean, polished surface without leaving streaks.
- Dry the faucet and fixtures: Use the same cloth or towel to dry the faucet and fixtures. This helps to prevent water spots and keeps the sink looking clean and shiny.
- Polish the sink surface: If desired, you can use a sink polish to add shine and protect the sink surface. Follow the manufacturer’s instructions for best results.
By drying the sink thoroughly, you can prevent water spots and keep the sink looking clean and shiny. Remember to use a clean, dry cloth or microfiber cloth and wipe all areas of the sink, including the faucet and fixtures. You can also use a sink polish to add shine and protect the sink surface.
6. Apply a protective layer

Applying a protective layer to your sink can help to prevent scratches, stains, and other damage, and keep it looking clean and new for longer. Here are the detailed steps on how to apply a protective layer to your sink:
- Choose a protective product: There are many products available on the market specifically designed to protect sink surfaces, such as sink liners, mats, or wax. Choose a product that is suitable for your sink material and meets your needs.
- Clean the sink: Before applying any protective product, make sure the sink is clean and dry. Follow the steps outlined above to clean and dry your sink thoroughly.
- Apply the protective product: Apply the protective product to the sink surface according to the manufacturer’s instructions. This may involve spraying, wiping, or spreading the product onto the sink surface.
- Buff the protective layer: Use a clean, dry cloth or microfiber cloth to buff the protective layer once it has been applied. This helps to ensure an even and smooth surface and can enhance the protective properties of the product.
- Follow the manufacturer’s instructions: Follow any additional instructions provided by the manufacturer, such as how often to reapply the product or how to remove it if necessary.
By applying a protective layer to your sink, you can help to keep it looking clean and new for longer, and prevent damage or stains from occurring. Remember to choose a product that is suitable for your sink material and follow the manufacturer’s instructions carefully.
Conclusion
Keeping your kitchen sink clean and well-maintained is an important part of maintaining a clean and hygienic kitchen. By following the steps outlined above, you can effectively clean your sink and keep it looking shiny and new. Remember to clear the sink, apply cleaner, scrub thoroughly, rinse, and dry the sink, and apply a protective layer if desired. Regular cleaning and maintenance can help to prevent stains, scratches, and other damage to your sink, and ensure that it remains a functional and attractive part of your kitchen for years to come.
